Proper Wheatpasting Techniques: How To
Wheatpasting, or wheat paste, has been around for a very long time. In fact, people have been using it as a form of adhesive for many needs; including crafts, book binding, wall stickers, and for a variety of other sources. This type of paste can be known to be similar in strenght to diluted white glue and stronger than straight glue when applied to paper.
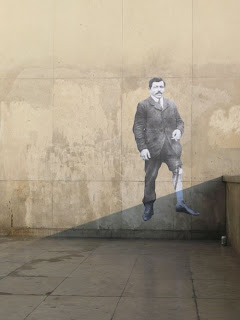
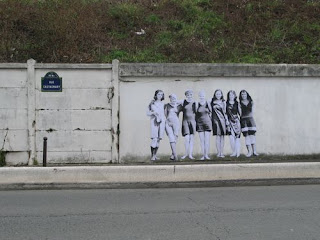
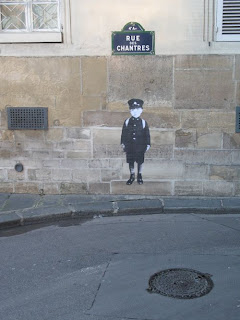
It used today by promoters, street artists, activists, and any one willing to have some fun with minimal imagination.
It used today by promoters, street artists, activists, and any one willing to have some fun with minimal imagination.
There are many methods to create wheat paste. Below is the best way to create and paste wheatpasting.
Materials to Create
- White Flour or Whole Wheat Flour
- Pot to Boil Water
- 2 Containers
- Water
- In order to ensure proper creation, one must start by paying close attention to detail. Begin by measuring near-exact 1:4 ratio of wheat flour to water (One cup of flower for every 4 cups of water). Place both of them in separate containers.
- Add water to the pot in hand and begin to boil.
- Once water has begun boiling, pour wheat flour in the pot. (Do not be afraid of failure once the boiling mixture boils or foams, just continue to stir.) Make sure to stir thoroughly through until the wheatpasting is very smooth and appears to feel like glue.(Destroy all flour balls and clumps in the mixture.)
- At this point, feel free to turn off heat and place pasting into another container.
Materials to Paste
- Bucket
- Paint Brush
- And/Or Paint Roller
- You may also use a squirt bottle.
For proper creation technique:
- Add some white sugar or corn starch for extra stickiness to container once paste is at room temperature.
- Paste should be used as soon as possible for maximum efficiency. If you plan on waiting a day or two for your project, ensure you store in a refrigerator.
- Add copper sulphate to make the wheatpasting last longer
For proper pasting technique:
- It is important to always put a layer in the area where one's pasting will be. Once the area is slightly wet, follow it by placing the image layer over the pasted area. Finish the process by adding another layered coat of wheat paste over the image layer.
- Ensure wall is smooth or semi-smooth
- Use a paint brush to clear corners or hard to reach spots- as oppose to a paint roller.
- Add wood glue right before pasting for a more powerful stick. 1:5 ratio would work where 1 is wood glue and 5 is paste.
- Minwax Polyacrylic works great as a strong clear finish and waterproofer.
Other Names for Wheat Paste
- Paste up
- Wheatpaste
- Wheatpasting
- Pasting
- Street Art Poster
- Urban Sticker
To Lazy to Make? Shop AMAZON for SUPER cheap!
Video: Slightly different but will still work. (not as effective)
Popular Artists:
JR
Leo and Pipo
Ludo
Sources:
http://www.wikihow.com/Make-Wheat-Paste
http://thesecretyumiverse.wonderhowto.com/how-to/street-art-101-make-wheatpaste-poster-0137642/
Warning: Use the wheatpasting techniques at your own risk. We do not encourage anyone to commit illegal acts. ALWAYS ensure what you are doing is legal and with full owner's permission.
http://thesecretyumiverse.wonderhowto.com/how-to/street-art-101-make-wheatpaste-poster-0137642/
Warning: Use the wheatpasting techniques at your own risk. We do not encourage anyone to commit illegal acts. ALWAYS ensure what you are doing is legal and with full owner's permission.


